In this tutorial, I will show you how to run Solr as a Microsoft Windows service. Up to version 5.0.0, it was possible to run Solr inside the Java web application container of your choice. However, since the release of version 5.0.0, the Solr team at Apache no longer releases the solr.war file. This file was necessary to run Solr from a different web application container such as Tomcat. Starting with version 5.0.0, Solr will be distributed only as a self-contained web application, using an embedded version of Jetty as a container.
Unfortunately, Jetty does not have a nice utility like Tomcat’s to register itself as a service on Microsoft Windows. I had to research and experiment to come up with a clean and easily-reproduced solution. I tried to follow the Jetty website instructions and adapt them to make Jetty work with Solr, but I was not able to stop the service cleanly. When I would request a “stop” from the Windows Service Manager, the service was flip-flopping between “starting” and “stopping” statuses. Then I discovered a simple tool, NSSM, that did exactly what I wanted. I will be using the NSSM tool in this tutorial.
Applications to Download
- Apache Solr
- NSSM
- Java (version 7 minimum for Solr 5.x, and version 8 minimum for Solr 6.x)
File System Setup
Taking Solr 5.0.0 as an example, first, extract Solr and NSSM to the following path on your file system (adapt paths as necessary).
C:\Program Files\solr-5.0.0
C:\Program Files\nssm
Setting up Solr as a service
On the command line, type the following:
"c:\Program Files\nssm\win64\nssm" install solr5
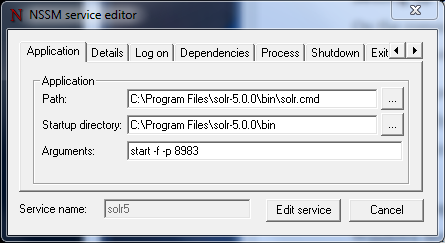
Fill out the path to the solr.cmd script, and the startup directory should be filled in automatically. Don’t forget to input the -f (foreground) parameter so that NSSM can kill it when it needs to be stopped or restarted.
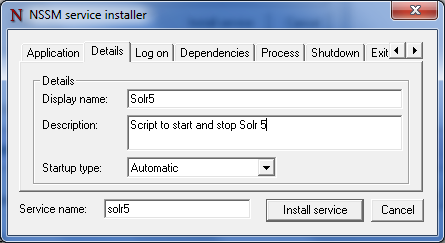
The following step is optional, but I prefer having a clean and descriptive name in my Windows Service Manager. Under the details tab, fill out the Display name and Description.
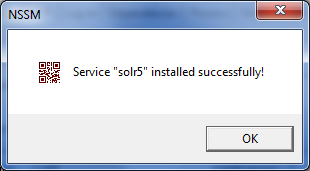
Click on Install service.
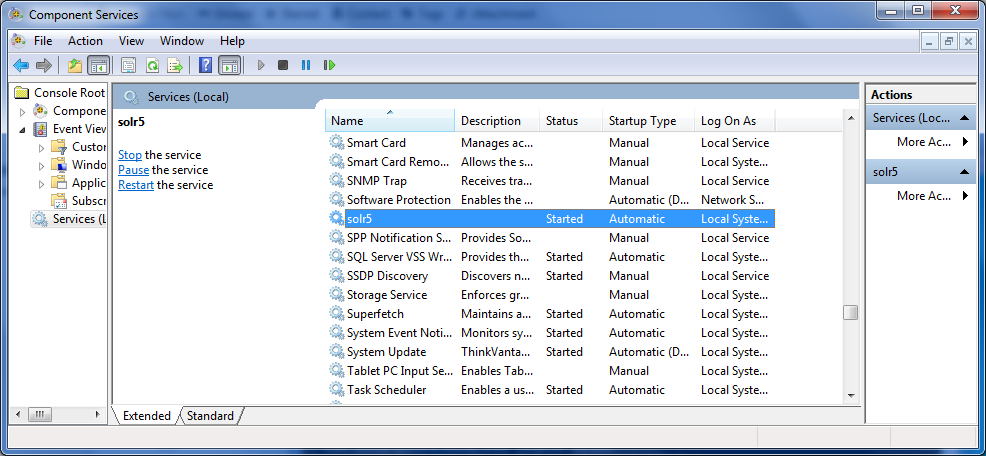
Check that the service is running.
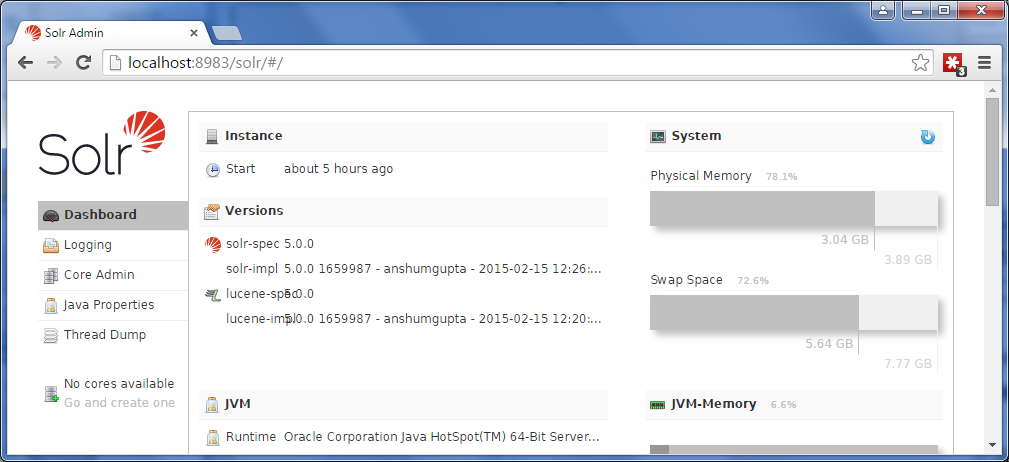
Go to your favorite web browser and make sure Solr is up and running.
Conclusion
I spent a few hours finding this simple solution, and I hope this tutorial will help you set up Solr as a Microsoft Windows service in no time. I invite you to view the solr.cmd file content to find the parameters that will help you customize your Solr setup. For instance, while looking inside this file, I realized there I needed to add the -f parameter to run Solr in the foreground. That was key to get it running the way I needed it.
If you successfully used a different approach to register Solr 5 as a service, please share it in the comments section below.
