Introduction
Amazon CloudSearch, a powerful and scalable search and analytics service, has revolutionized how businesses handle data search and analysis. This blog post will walk you through how to set up and leverage Norconex Web Crawler to seamlessly index data to your Amazon CloudSearch domain.
Understanding Norconex Web Crawler
Norconex Web Crawler is an open-source web crawler designed to extract, parse, and index content from the web. For extracting data from the web, Crawler’s flexibility and ease of use make it an excellent choice. Norconex offers a range of committers that index data to various repositories. See https://opensource.norconex.com/committers/ for a complete list of supported target repositories. If the provided committers do not meet your requirements, extend the Committer Core and then create a custom committer to fit your needs.
This blog post will focus on indexing data to Amazon CloudSearch.
Prerequisites
Amazon CloudSearch
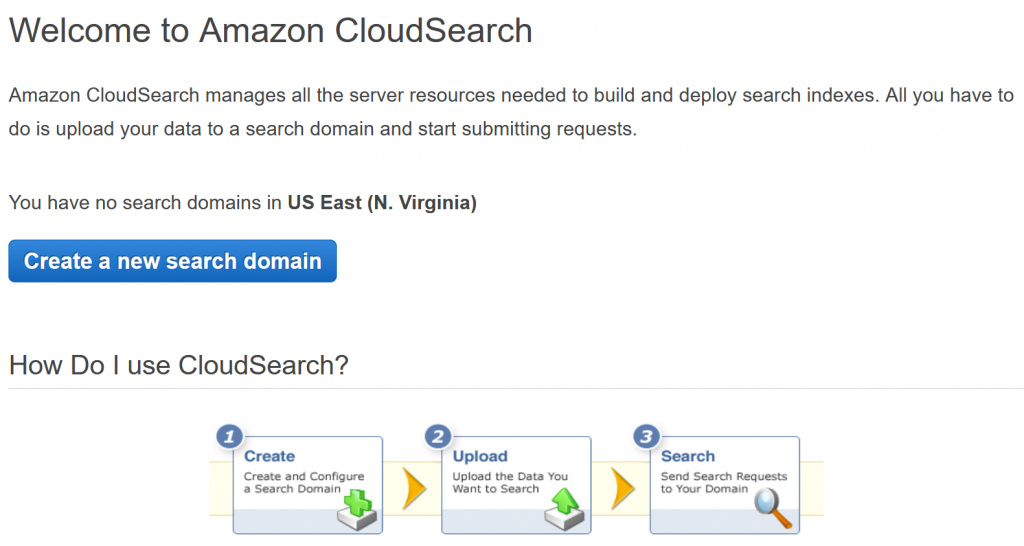
Follow the steps below to create a new Amazon CloudSearch Domain.
- Browse to https://console.aws.amazon.com/cloudsearch/home, and click the Create a new search domain link.
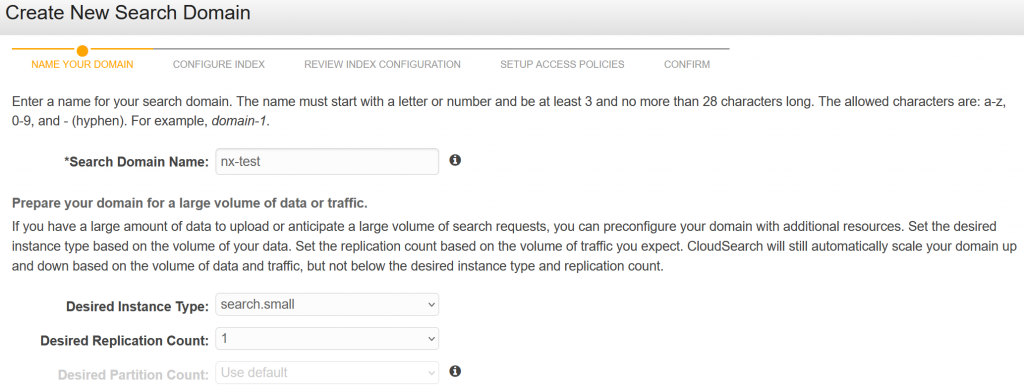
- Enter a Search Domain Name. Next, select search.small and 1 for Desired Instance Type and Desired Replication Count, respectively.
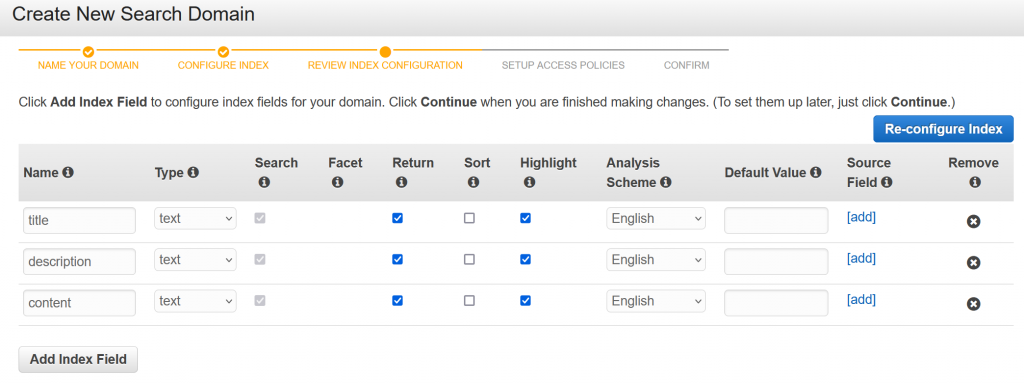
- Select Manual configuration from the list of options.
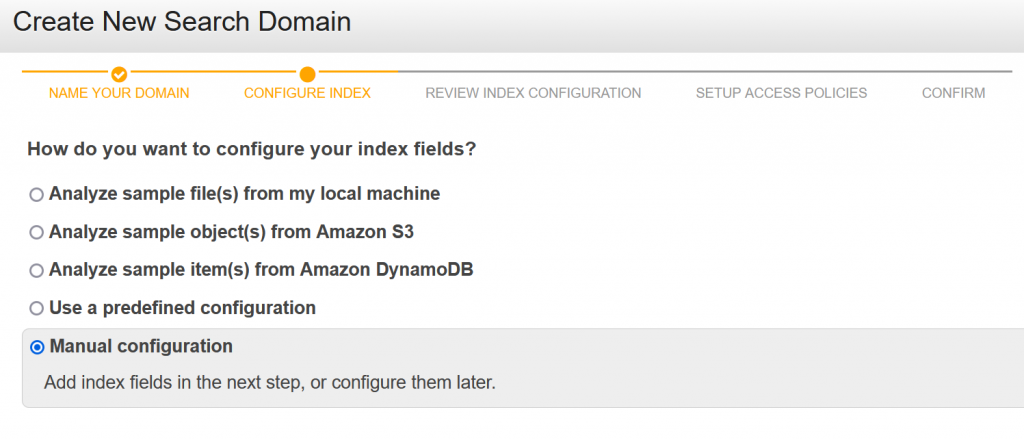
- Add 3 fields – title, description, and content, of type text.
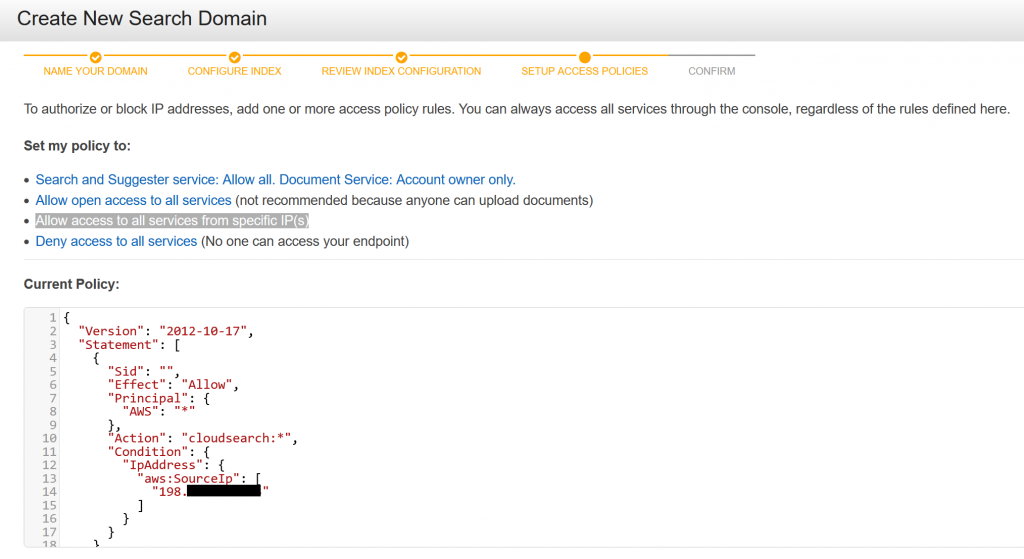
- Authorize your IP address to send data to this CloudSearch instance. Click on Allow access to all services from specific IP(s). Then enter your public IP address.
- That’s it! You have now created your own Amazon CloudSearch domain. AWS will take a few minutes to complete the setup procedure.

Important: You will need the accessKey and secretKey for your AWS account. Not sure where to get these values? Contact your AWS administrator.
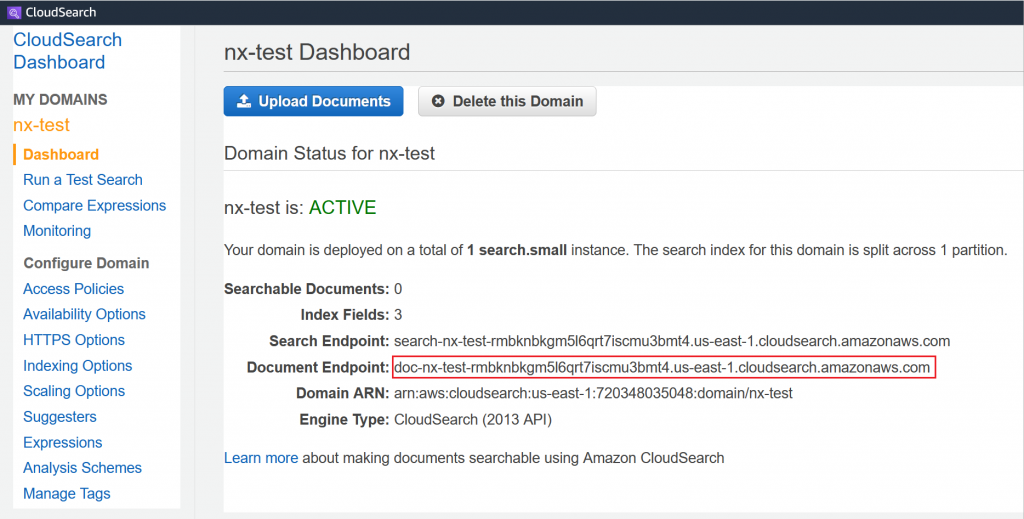
After a few minutes, go to your CloudSearch Dashboard and make a note of the Document Endpoint.
Norconex Web Crawler
Download the latest version of Crawler from Norconex’s website. At the time of this writing, version 3.0.2 is the most recent.
Download the latest version of Amazon CloudSearch Committer. At the time of this writing, version 2.0.0 is the most recent.
Follow the Automated Install instructions to install Amazon CloudSearch Committer libraries in the Crawler.
Crawler Configuration
The following Crawler configuration will be used for this test. First, place the configuration in the root folder of your Crawler installation. Then, name it my-config.xml.
Ensure that you supply appropriate values for serviceEndpoint, accessKey, and secretKey. On your CloudSearch Dashboard, serviceEndpoint is the Document Endpoint.
<?xml version="1.0" encoding="UTF-8"?>
<!DOCTYPE xml>
<httpcollector id="Norconex HTTP Crawler">
  <!-- Decide where to store generated files. -->
  <workDir>./output</workDir>
  <crawlers>
    <crawler id="Norconex Amazon CloudSearch Committer Demo">

      <startURLs
   	 stayOnDomain="true"
   	 stayOnPort="true"
   	 stayOnProtocol="true">
   	 <url>https://github.com/</url>
      </startURLs>

      <!-- only crawl 1 page -->
      <maxDepth>0</maxDepth>

      <!-- We know we don't want to crawl the entire site, so ignore sitemap. -->
      <sitemapResolver ignore="true" />

      <!-- Be as nice as you can to sites you crawl. -->
      <delay default="5 seconds" />

      <importer>
 	  <postParseHandlers>
   		 <!-- only keep `description` and `title` fields -->
  		 <handler class="KeepOnlyTagger">
  		   <fieldMatcher method="csv">
   			description,title
   		   </fieldMatcher>
  		</handler>
         </postParseHandlers>
  	 </importer>

      <committers>
	  <!-- send documents to Amazon CloudSearch -->
        <committer class="CloudSearchCommitter">
          <serviceEndpoint>...</serviceEndpoint>
          <accessKey>...</accessKey>
          <secretKey>...</secretKey>
  	  </committer>
      </committers>

    </crawler>
  </crawlers>
</httpcollector>
Note that this configuration is the minimal required. To suit your needs, you can set many other parameters. Norconex’s documentation does an excellent job of detailing all the available parameters.
Important: For the purposes of this blog, AWS credentials are specified directly in the Crawler configuration as plain text. This practice is not recommended due to the obvious security issues doing so creates. Accordingly, please consult AWS documentation to learn about securely storing your AWS credentials.
Start the Crawler
Norconex Web Crawler comes packaged with shell scripts to start the application. To start the Crawler, run the following command in the console. The example below is for a Windows machine. If you are on Linux, use the collector-http.sh script instead.
C:\Norconex\norconex-collector-http-3.0.2>collector-http.bat start -clean -config=.\my-config.xmlRecall that you saved the configuration at the root of your Crawler installation.
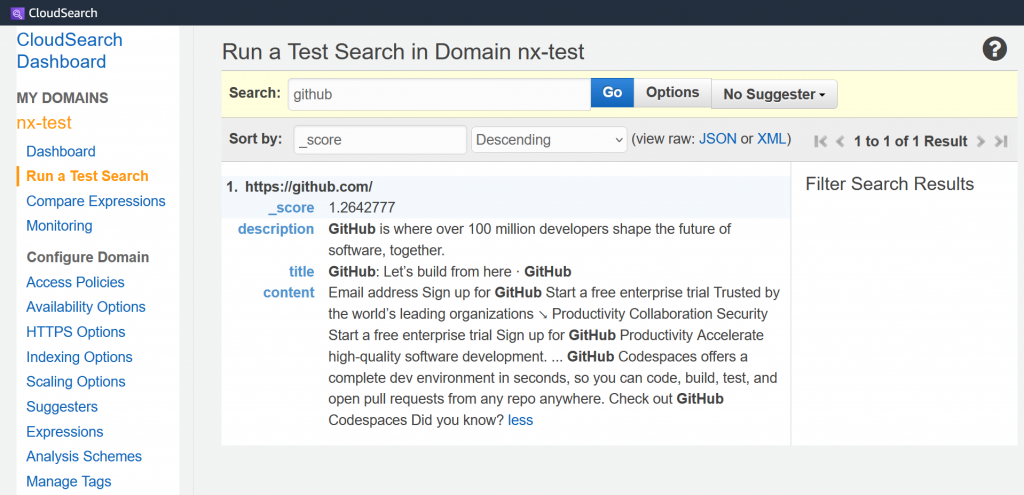
The crawl job will take only a few seconds since only a single page is being indexed. Once the job completes, browse to your CloudSearch Dashboard. Then run a Test Search with the word github to see that the page was indeed indexed!
Conclusion
Indexing data to Amazon CloudSearch using Norconex Web Crawler opens a world of possibilities for data management and search functionality. Following the steps outlined in this guide, you can seamlessly integrate your data to Amazon CloudSearch, empowering your business with faster, more efficient search capabilities. Happy indexing!
Harinder Hanjan
Harinder has over 15 years of Software Development and Consulting experience with small and large organizations. His specialty is in the world of Enterprise Search.